Once your checklist template has been created at the company level, project admins can edit them at any time
Information to know:
- You must be a project admin to edit checklists
- The checklist template must be created at the company level
Steps
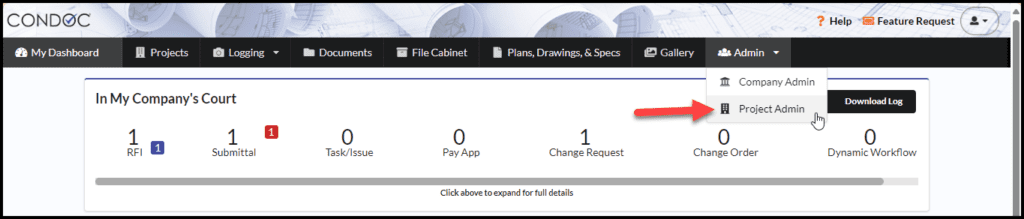
1. Navigate to Admin > Project Admin
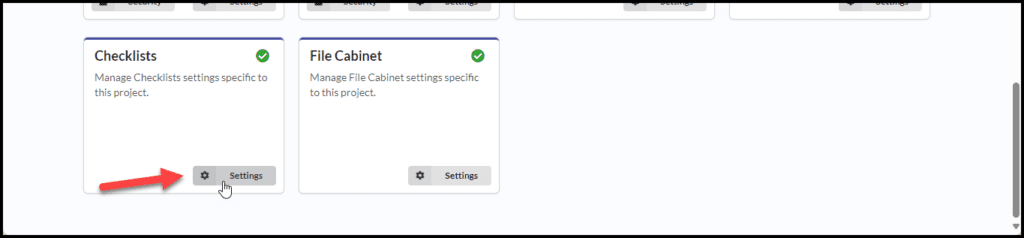
2. Scroll down to the bottom of the screen to the Checklists box. Click on Settings
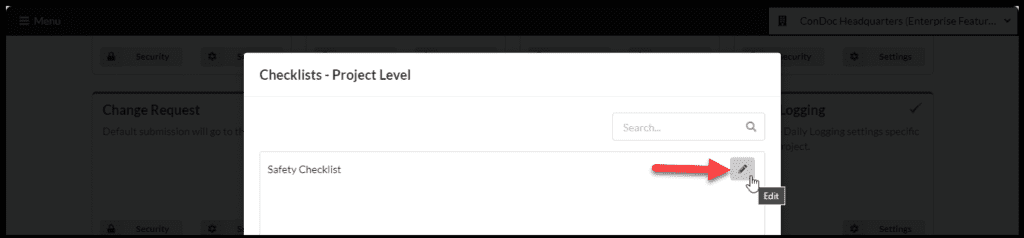
3. Find the checklist you want to edit and click on the pencil icon
4. You can add sections or additional items to a section by clicking the corresponding blue plus button
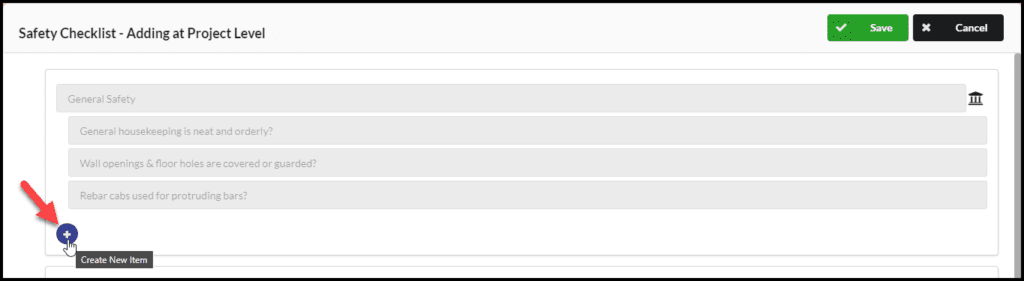
5. Once you are done adding your changes, click on Save
See Also:
For Administrators:
For Users: